
Parts and tools
|
Item |
Reference |
|
ITE220 or TU100 replacement cone kit pack of 50 |
AGD MS-288 |
|
MS-240-6XX replacement cone kit pack of 50 |
AGD MS-289 |
|
1.9 mm drift punch |
Source example RS stock 784-5936 |
|
Small pin hammer |
Suitable service tool |
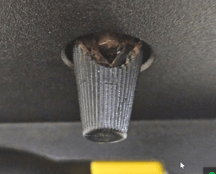
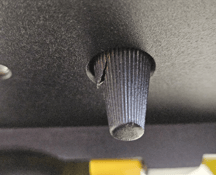
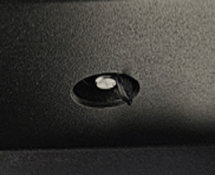
Typical Failures
Before you begin
- Complete the repair at a service centre where possible.
- Follow the push-button manufacturer's instructions because the tactile units can be fitted to different housings.
- If the cone is seized, replace the complete tactile unit rather than attempting a cone-only repair.
- Isolate power and disconnect the supply cores before removing the tactile unit.
Remove the tactile unit and cone
-
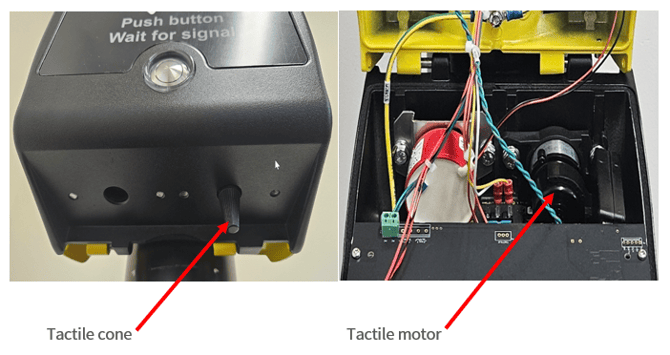
Remove the controller from the tactile motor to expose the M6 hex-head fixings.
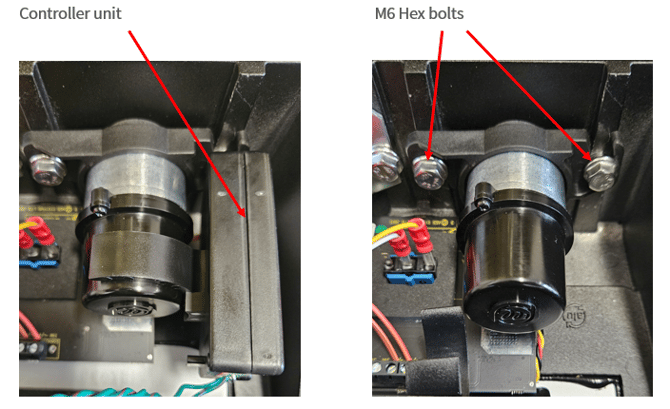
-
Disconnect the power cores and remove the M6 fixings so the tactile unit can be taken out of the housing.
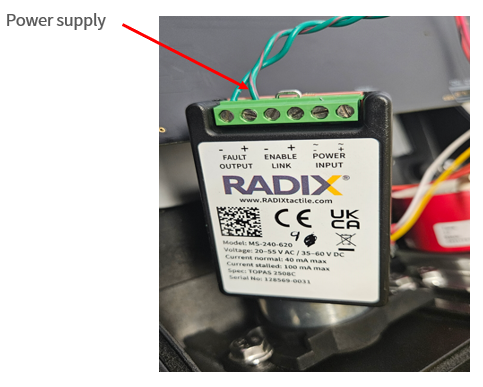
-
Support the tactile unit on a firm suitable surface.
-
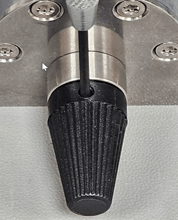
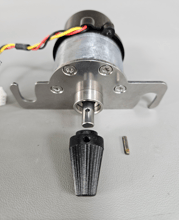
Use the 1.9 mm drift punch and a small pin hammer to drive the split pin out of the cone and motor spindle.
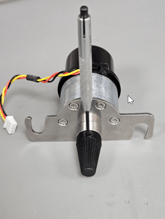
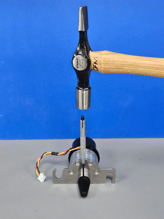
-
Remove the damaged cone and inspect the spindle and motor. Replace the complete unit if damage or seizure is found.
Fit and test the new cone
-
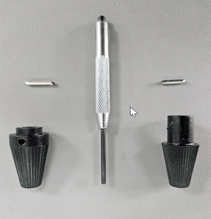
Place the correct replacement cone over the motor spindle and align the holes.
-
Start the new split pin with the hammer until it sits just proud of the cone.
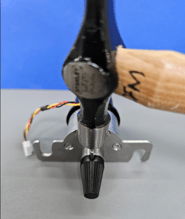
-
Use the drift punch for final insertion so the cone is not struck or damaged.
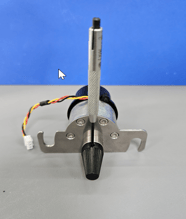
-
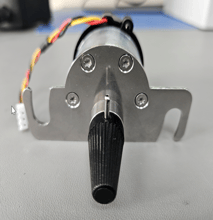
Power the unit using the approved bench process and confirm that the cone rotates freely and remains perpendicular to the motor. Isolate power, refit the tactile unit by reversing the removal procedure, then complete the required functional test.
Applies to ITE220 TU100 and MS240620 tactile units using AGD replacement cone kits
Source TAN48 revision 1 20 February 2024